GATE 2015: Procedure for Filling Application Form Online
STEP 1: Enrolment/Registration.
STEP 2: Login
STEP 3: Profile Filling/Save/Edit
STEP 4: Photo, Signature and Documents uploading STEP 5: Payment (E-Challan payment/Netbanking) STEP 6: Download and Print PDFs
STEP 1: Enrolment/Registration:
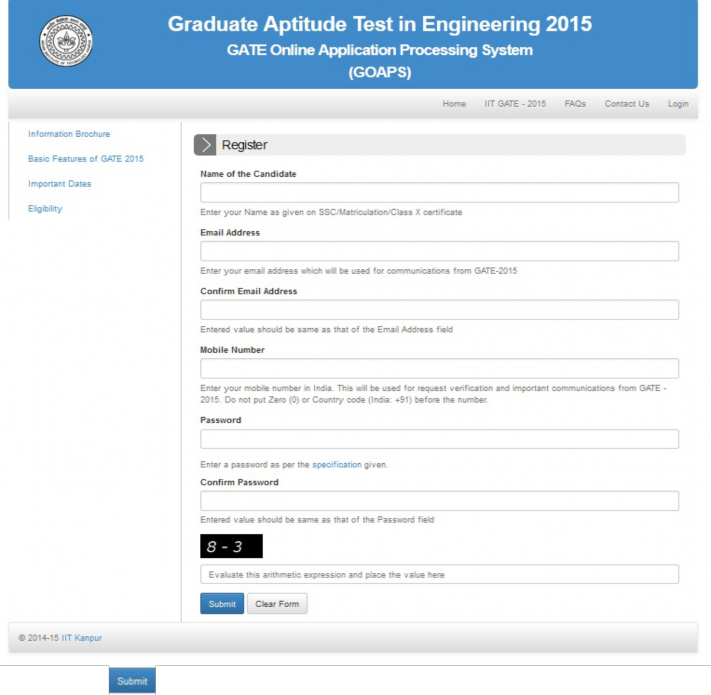
Each candidate must enroll their name, email and mobile number by clicking “New User Register Here”, which is encircled in the screen shot below. Candidate has to give a password that will be required for all other operations.

You will be directed to the following screen after clicking the link “New User Register Here”.
![]()
NOTE: Please note that Name of the Candidate, Email Address and Mobile Number (10 digits) cannot be changed in the later stage, hence you must verify and confirm the details given above before you click button.
After you click button, you will see the following screen. Accordingly, you will receive an Enrolment ID by e-mail and SMS.

STEP 2: Login

Enter the Enrolment ID and password that were used during registration and click ![]() button to get the Candidate Application Form status shown below.
button to get the Candidate Application Form status shown below.

Click ![]() to get Candidate Application Form Page, shown below. Candidate has to fill all the fields as per their requirement. Please keep necessary details while filling the form.
to get Candidate Application Form Page, shown below. Candidate has to fill all the fields as per their requirement. Please keep necessary details while filling the form.
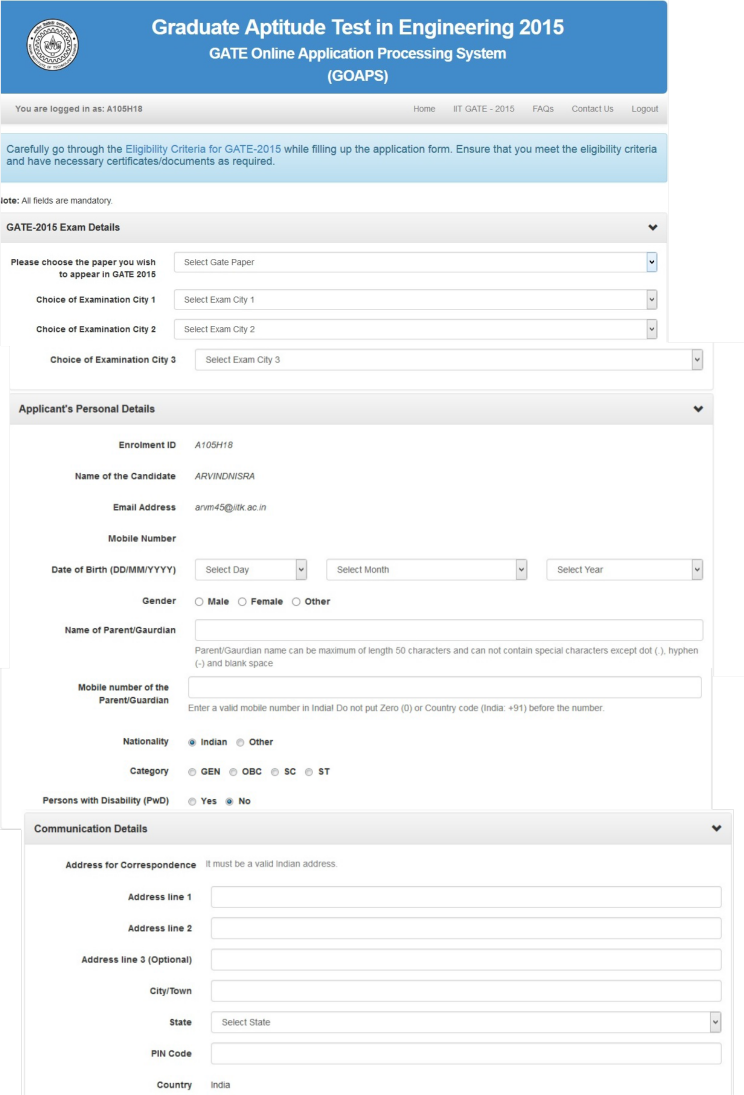

STEP 3: Profile Filling GATE 2015 Exam Details :

- Select GATE Paper from the drop down list. Please note that the GATE Paper cannot be changed under any circumstances after final submission of the application form.
- Select Choice of Examination City 1, City 2 and City 3.
Applicant’s Personal Details :

- Select your date of birth from Day, Month and Year drop down lists.
- Select Gender.
- Give your Parent/Guardian name and mobile number.
- Select Nationality, Category, Status of Person with Disability (PwD).
- If you select status of Person with Disability (PwD) as Yes, then you have to select another option for Scribe requirement (screen shot given below).
Scribe means, the facility of assistance required during the examination for the PwD candidates. If you require assistance during the examination due to your PwD status, then choose Yes option otherwise you may choose No option from “Do you require scribe assistance to write the exam?”.
If you choose Yes, you will be provided with a person who can be a Scribe for you. You will receive a necessary communication to fix a Scribe from the respective Zonal GATE offices.

Communication Details:

Give correct address of communication and verify the same before submitting the form. Select “ID Proof” and give the reference number of the ID Proof in “ID Proof Number”. Note that you have to produce the same ID Card in original during examination for verification.
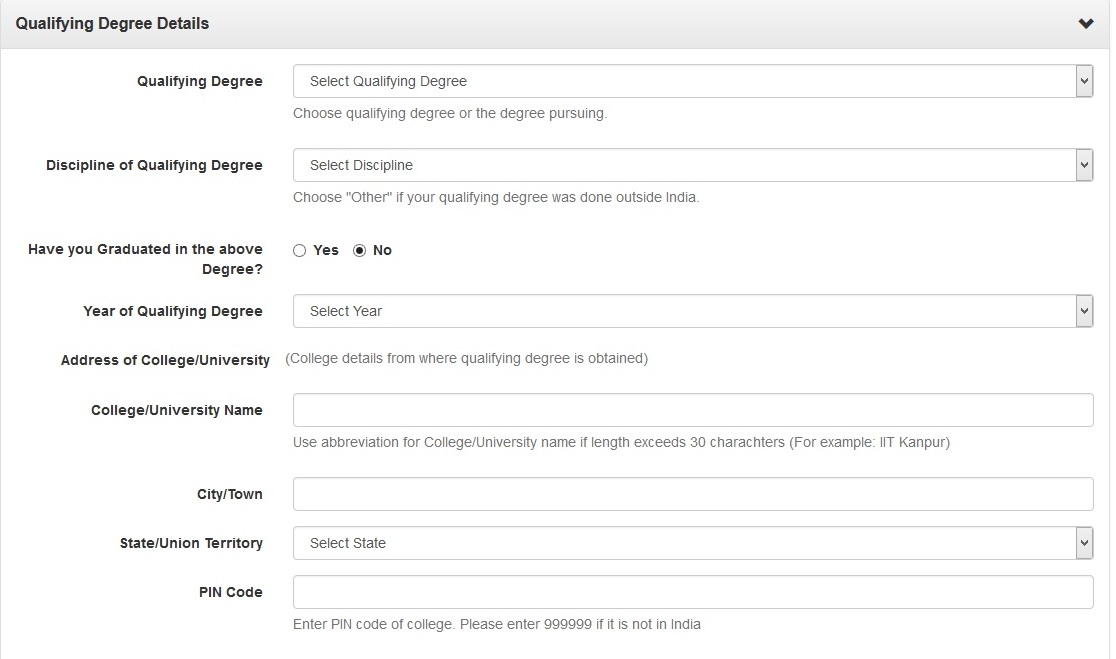
Qualifying Degree Details:
Select your Qualifying Degree, discipline, status on whether graduated or not in the qualifying degree, year of qualifying degree. Enter your College/University Name, address and PIN Code and save the details. Once you save these details, you may edit t h e m at a later stage as long as you have not submitted the complete application. However, this is within the deadline of application closure.

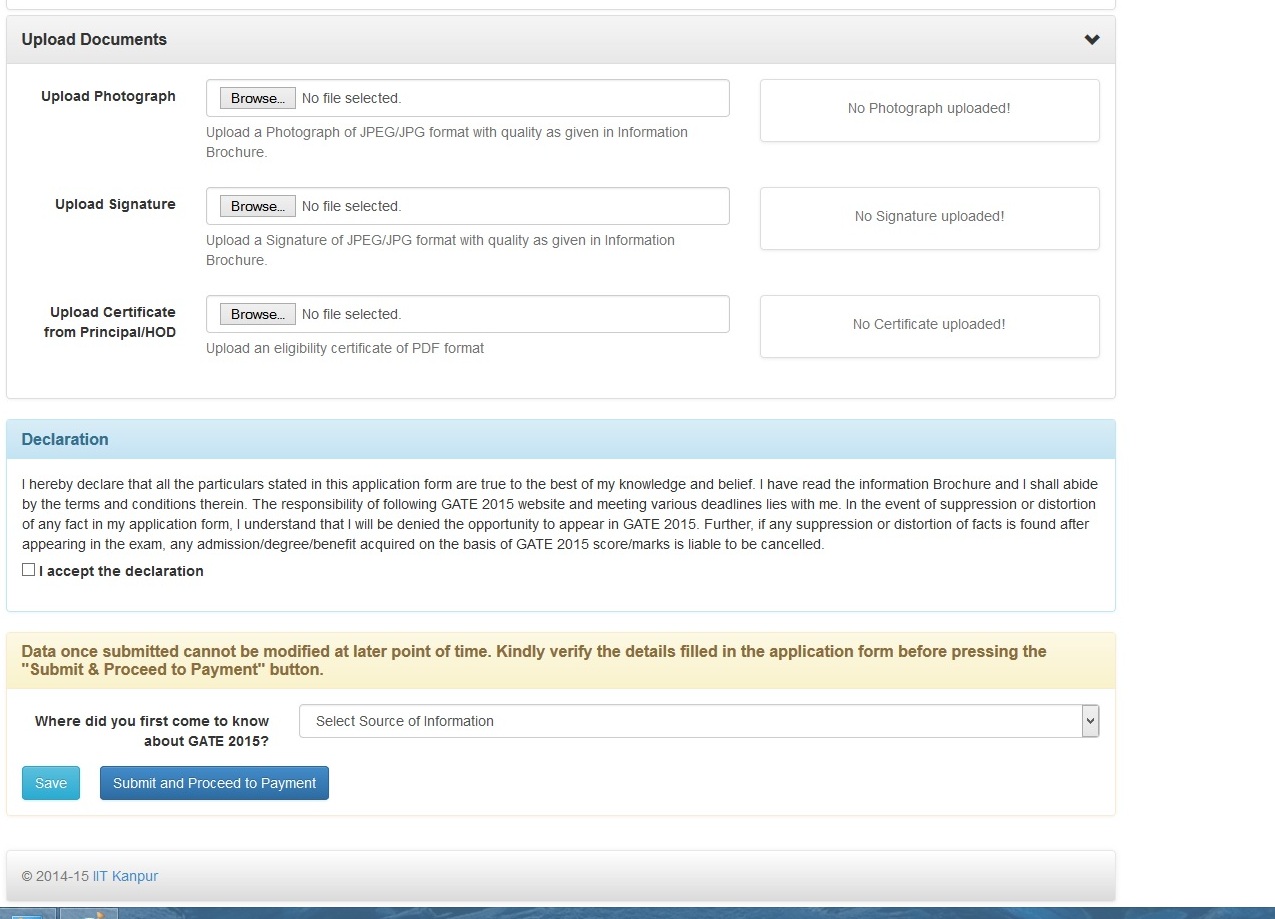
STEP 4: Photo, Signature and Documents uploading:
Upload Photograph:

- Before you upload your photo you have to check the following specification of the image file.
- The photograph must be in color.
- Photograph must be taken in a White or a very light background.
- The photograph must have been taken after 1st July 2014.
- In the photograph, the height of the face (between chin and the top of the forehead) should occupy about 50% of the height of the photograph.
- The main features of the face must not be covered by hair of the head, any cloth or any shadow. The photograph must show full frontal view with both ears being visible and eyes open.
- If you normally wear spectacles, glare on glasses is not acceptable in your photo. Glare can be avoided with a slight downward tilt of the glasses or by removing the glasses for the photo shoot.
- You must not wear spectacles with dark or tinted glasses, only clear glasses are permitted.
- Ask your photo studio to provide the image in a JPEG/JPG format and also on a standard 3.5 cm (width) × 4.5 cm (height) print (480 x 640 pixels).
- Have pixel width in the range 240 to 480 and ensure that the width to height aspect ratio is in the range 0.63 to 0.86.
- File size should be between 5KB and 100KB (memory size).
- For your own benefit it may be prudent not to intentionally change your facial features or hair as in the photograph until the day of the exam.
How to check the photo specifications in paint application (windows)?:
Right click photo image -> select Open with -> select Paint

You will see the screen (as an example) as below

Checking the Resolution, horizontal and vertical size:
Click “Properties” option as shown in the screen shot below, to check resolution, horizontal and vertical size of your image.


Resolution, this should be > 200dpi
Width should be 480 Height should be 640
If properties of the image file are as shown above, i.e., resolution =200dpi, width=480 pixel, height=640 pixel, then you can upload the image file, otherwise, you can resize the image. The procedure for resizing the image is given below. However, you have to set the required resolution during photo processing.
CHECK THE HORIZONTAL AND VERTICAL PIXEL SIZE

Click . Th en you find the screen shown as

Click on
 and check Horizontal and Vertical pixel size and crop the image to 480 pixel in width and 640 pixel in height.
Cropping of image:

Uploading Signature:

- Before uploading your signature, you have to check the following specification of the image file.
- Please draw a rectangular box of size 7cm (width) × 2cm (height) on an A4 white paper. Put your signature with black or dark blue ink pen within this box.
- Scan the signature in JPEG/JPG format using a scanner at 200 pixels per inch (dpi), and crop the image to the box.
Procedure of cropping the signature:
- Open the scanned signature with paint (see the screen shot below).

- The cropped image will look like

- Save the image.
- Ensure that the file size is between 5KB and 100KB.
- Have pixel width in the range 300 to 600 and ensure that the width to height aspect ratio is in the range 3.15 to 3.97.
- Note that only JPEG/JPG image formats will be accepted and photographs of the signatures taken using mobile phone or digital cameras are not acceptable, and can result in disqualification of the application without any refund of the fee.
quality, you can upload new image files again.
Uploading Documents:
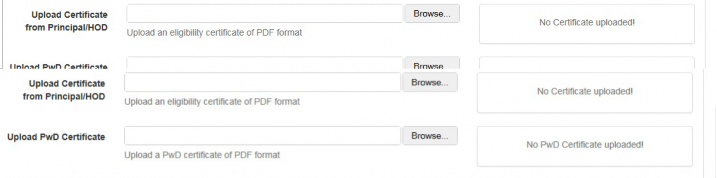
Check the preview of the images after uploading and if you are not satisfied with the preview
Upload Eligibility Certificate/Certificate From Principal, PwD certificate (if applicable) and category certificate (if applicable) in pdf format only.
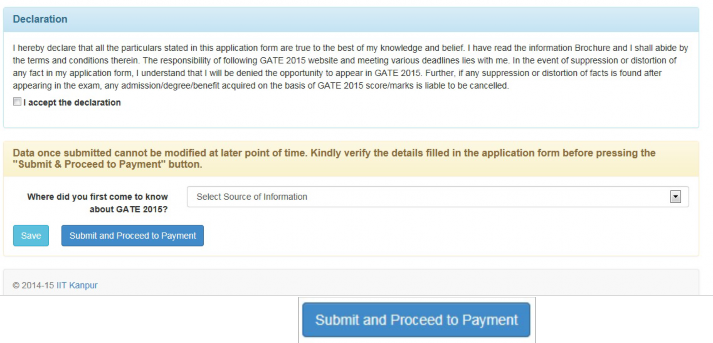
After uploading the images and certificates, you must accept the declaration. Then choose the appropriate drop down button for “Where did you first come to know about GATE2015”?
Now You can proceed for payment by pressing
STEP 5: Payment
You will get the following screen shot for payment. You have to choose one of the following Payment Modes.

Note:
If you choose the e-Challan payment mode and commit the payment by choosing either of the bank then you will not be able to revert back and choose any other payment mode.
Once you choose any payment mode and payment is in process do not use Refresh or Back buttons.
STEP 6: Download and Print PDFs:
You should download and print the pdf file of your enrollment application form for your personal records and for further communications, if required.